On the face of it water is just water but it is also the biggest ingredient (by volume) that goes into making beer and the chemical break down of water varies widely from one area of the country to another.
So what type of water is required to make a good beer? Acceptable beer can be made from nearly any water but to get the best out of the brewing and fermentation processes it's best to have a balance of acid and alkalinity.
Two other important elements for the brewing process are Calcium and Magnesium. Calcium provides a balance to the alkalinity of phosphates found in the malts and Magnesium helps to provide a perfect environment for the yeasties to do their work during fermentation.
The enzyme activity that takes place during the mash works best when the PH during the mash is 5.2 (or there abouts). But how do we change the mash PH? It's not something that can be easily achieved once the grain is in the mashtun so we need to get to a good starting point before hand and then use trial and error over a number of brews to get it right in the mashtun.
In the past brewers would have brewed beers that suited their source water properties. If the water was highly alkaline then they would have brewed darker ales and porters - the higher acid content on roasted and darker malts would help to balance the alkalinity.
Now days it's possible to change the water profile to match the type of beer being brewed.
With this in mind my journey into a weird world of water chemistry is starting (and I used to hate chemistry at school!). I've read the local water boards quality reports to get values for chlorine / chloramines, Total Alkalinity, Calcium, Magnesium and sodium. This is a good starting point but the readings are average over the year and do change.

I could have just boiled the water and then decanted off the carbonate residue that drops out but it's time and energy consuming and would require me to add quite large quantities of calcium and other brewing salts afterwards.
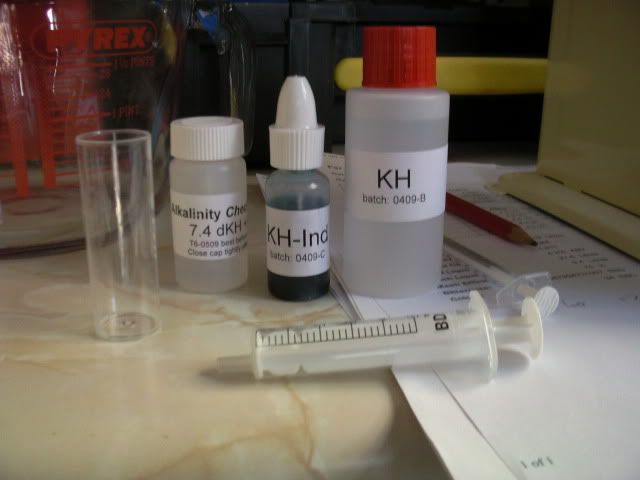
The kit also comes with a control sample of water so that the process can be checked using liquid with a known value for alkalinity.
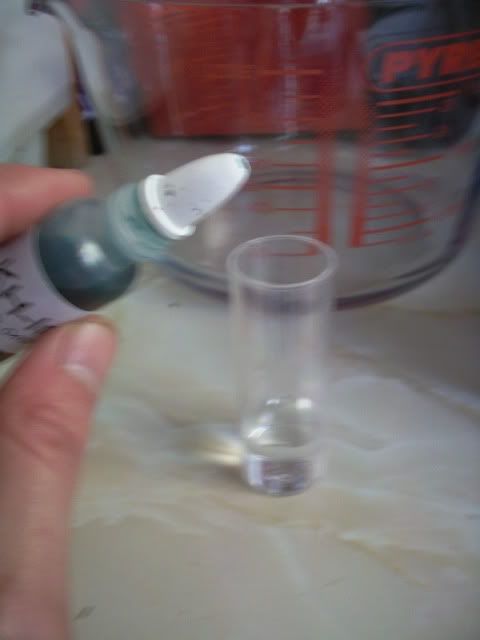
The first step in the test is to add 4ml of the water to the test vial and then add two drops of the blue indicator fluid to the vial.
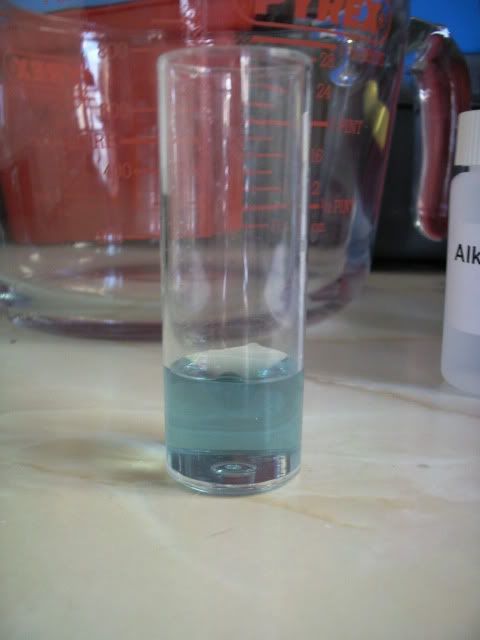
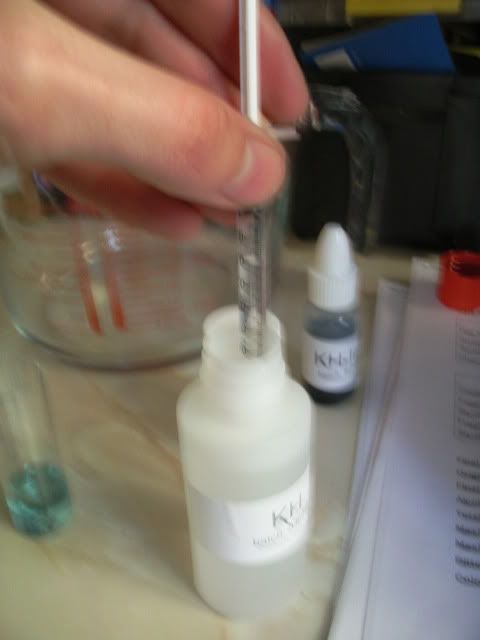 Then using the smaller syringe, draw up 1ml of the KH buffer solution and slowly, drop by drop, add it to the vial. After each drop shake the sample a little. You are looking for the colour of the sample to show tinges of pink when gently shaken and will look a light grey / clear colour when held still. At that point take the reading of how much solution is still remaining in the syringe.
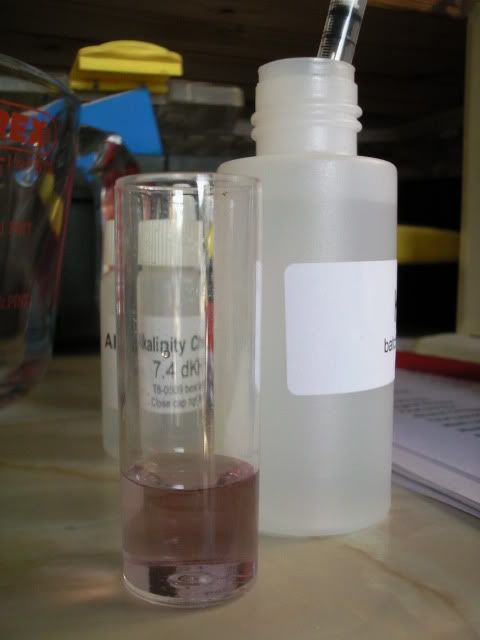
Two drops after the changeover point the whole sample will go a light pink colour.
Make a note of the reading and then look it up on the alkalinity test chart provided.
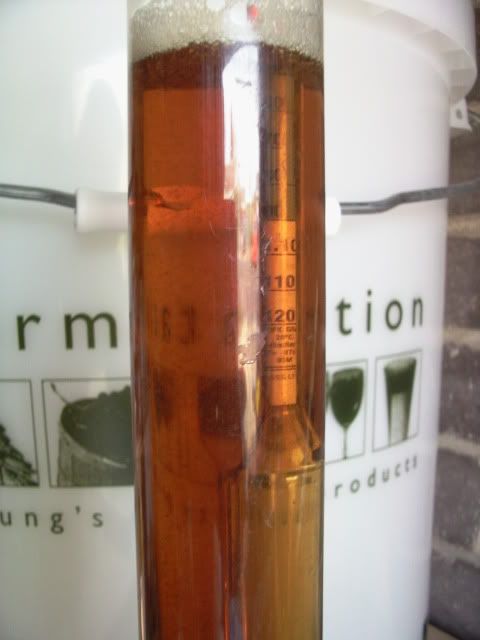
The Alkalinity value from the chart is multiplied by 50 to get the value we need in ppm CaCO3. In this case my source water is 234.5.

So in this instance I want to get down to about 40ppm Alkalinity. To do this I need to add the right amount of acid to buffer the alkalinity. To do this I can take my alkalinity value away from the target to show how much I need to remove and then divide by 180 (which is the amount that 1ml AMS will remove from 1 ltr of water) and then multiply by the total amount of brewing liquor.
In this case I need 31 ltrs of liquor so the sum to do is 31 x ((234.5 - 40) / 180) = 33ml of AMS.
Doing this worked fairly well and after testing again I seem my water now has an Alkalinity of 45ppm.
The only problem with this method is that some properties (such as Sulphates and Chlorides) are actually increased but they are still within tolerances that are ok for brewing with.
The rest of my water appears to be good for brewing. There is plenty of calcium and magnesium in there so no need for further additions. The only addition in fact is 1/2 crushed campden tablet to remove traces of chlorine and chloromines from the water supply - which can turn good beer to bad.
My mash PH is slightly low for my first attempt but much closer at 4.9 than it has been in the past. Getting the water profile and mash PH right can increase mash efficiency, reduce tannin extraction and improve hop flavour in the final beer. It's too early to tell for this first time but I was impressed by the overall quality and clearness of the wort being run off from both the mash tun and boiler. I've never had it so clear!
Happy Days! ;)


.png)


There is a good video here: http://www.youtube.com/watch?v=HCpcQ7uh-fA showing how to use the test kit.
ReplyDeleteSome good information here http://www.jimsbeerkit.co.uk/forum/viewtopic.php?f=9&t=24442