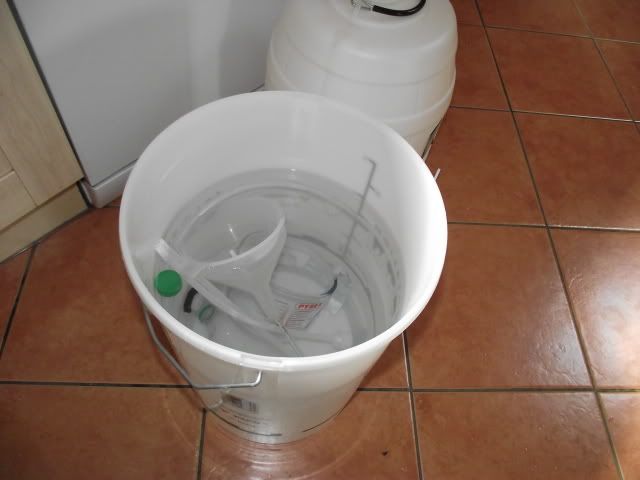
So, when it was time to rack off my Red Ale into a secondary fermenter for finishing and dry hopping, I decided I'd give reclaiming and washing the yeast from the trub.
To do this I first sterilised a couple of 500ml PET bottles and a jug. I then boiled and cooled a few 100mls of water to add to the yeast cake to get it into solution. The boiling of the water helps to drive off the oxygen which might be used by the yeast for aerobic action and also sterilises the water ready for use.
Once the water cooled to below around 24oC I poured it into the fermenter and swished it around a bit. I then jugged about 300mls of the liquid into one of the PET bottles, popped the lid on and left in the fridge for about 60 mins to allow the heavier trub to settle out whilst the yeast remained in suspension in the liquid.
At this stage it was just a case of gently pouring the top half of the liquid containing the yeast into the second bottle where it can be capped and put back into the fridge until it's settled out properly. Once settled you should see a nice white / creamy yeast deposit at the bottom. If it still looks contaminated by trub then you can repeat the process of rinsing the yeast and pouring off the debris.
What I ended up with looked like this.

Once collected this will keep in the fridge for a while. To use it, take it out of the fridge a few days before it's needed to gradually stabilise the temperature and so there is enough time to make a yeast starter.
I'm planning on using this one at the weekend so here is how I went about making a starter with it.
First of all, clean and sterilise everything that is being used really well. I'm bottling and kegging as well which is why there is more equipment.
I heat about 300ml of water up to around 50oC to allow me to dissolve 40gms of Light Dried Malt Extract into it.
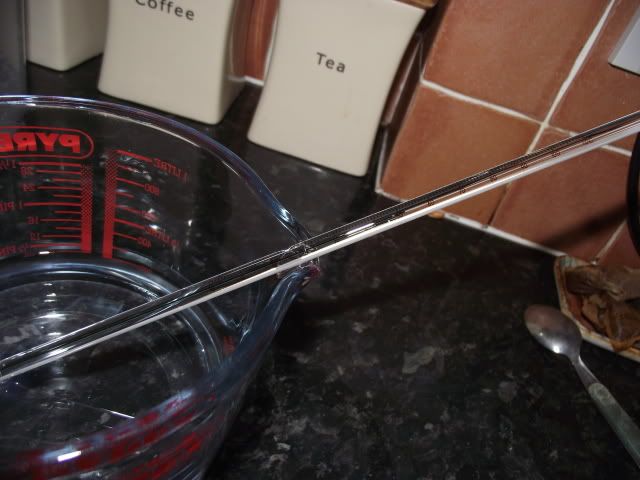

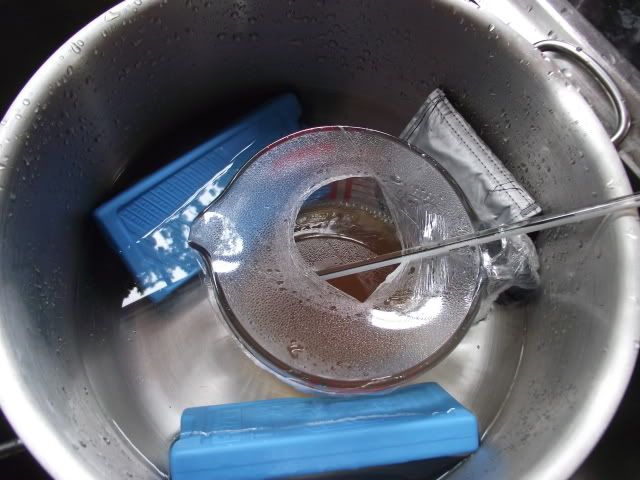
The boiled liquid is cooled in a pan of icy water to get back down to around 22oC.
In the meantime I am preparing the yeast for use. First of all I pour off the excess liquid into a glass. This gives me a chance to smell it and to taste it to make sure there are no signs of an infection.
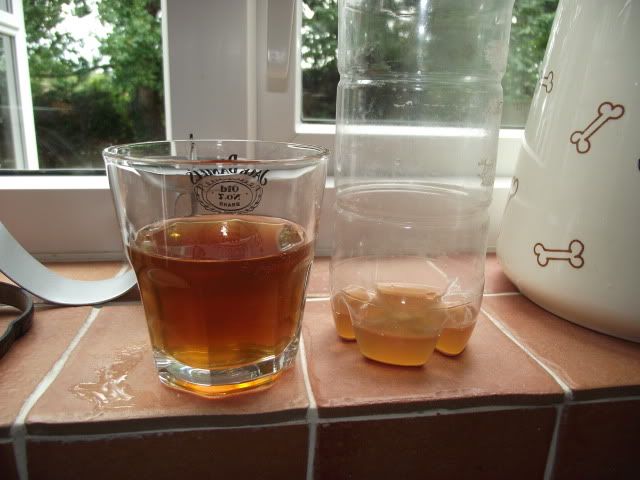
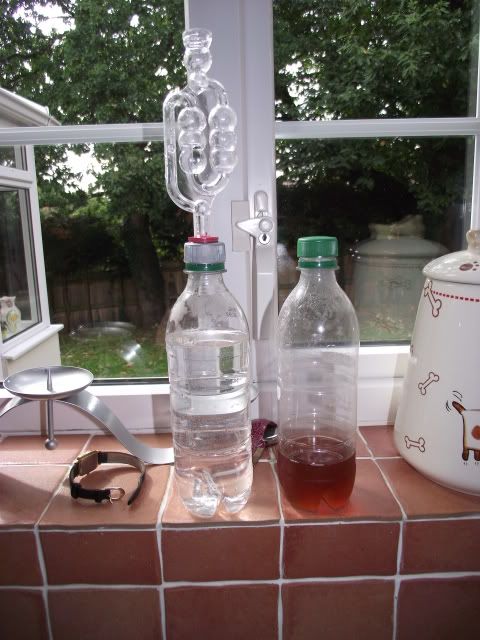
This one is ok and ready to go. One last job I wanted to do is to bodge a bottle cap so I can use my airlock with it.
And job done - I used a few drill bits and a file to make a hole in the cap so I could fit the rubber grommet in for the airlock to go into. This will come in very useful for the future. Previously I have just used a normal cap loosely fitted so any gases can be released.
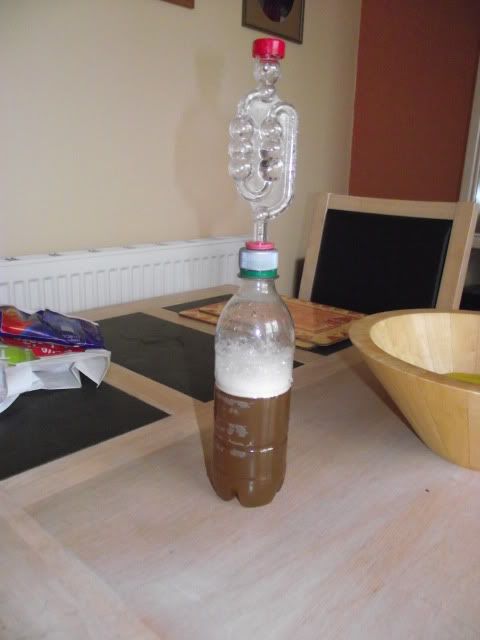
I then pour the extract liquid into the yeast bottle and shake well. This gets the yeast off the bottom and into suspension as well as getting some air into it to help the yeast to grow.
Finally I pour the yeast liquid into the new sterilised bottle and cap it with my new airlock cap. This then goes to a warm place for 24-48 hours before being ready for pitching.
There are other methods for reusing, washing and splitting yeasts out there and this is just the way I've done it. I'm looking forward to a decent brew day and pitching a viable and healthy yeast - hopefully ;)
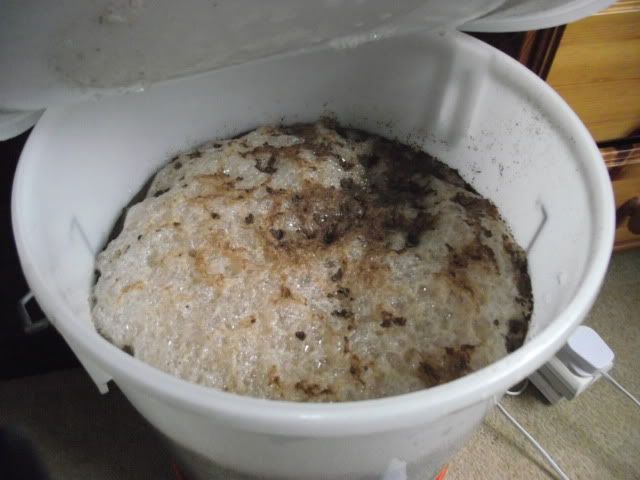
UPDATE: The yeast starter was probably made up a little early and next time I'd probably only make it about 24 hrs before. However, I pitched the yeast starter in my Four Shades Of Stout and there was a good yeast crust within 12 hours of pitching.


.png)


No comments:
Post a Comment