Fermentation and Bottling :(
We last left off with crashing the temperature of the wort in the boiler down to pitching temperature - around mid 20's oC.
I tend to leave the wort to settle so that the hops form a filter and keep most of the break material out.
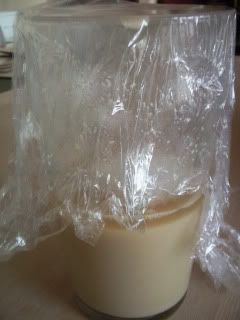
While this is happening I would sort out my yeast. This time I'm using a dry yeast and a fairly neutral one to let the hops shine. It's Danstar Nottingham yeast, which I rehydrate in a few hundred mililitres of boiled / cooled water.
Rehydrating yeast involves sprinkling it onto the water and leaving for about 10 minutes, covered with some clingfilm. The yeast should not all sink to the bottom - if it does then suspect the health of the yeast batch. I tend to mix it back into suspension and see if it foams up after a further 15-20 mins. The clingfilm will rise and mist up if the yeast is viable. Give it a smell as well. You get an idea after a few times as to which yeasts are good or bad.
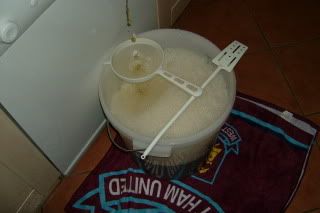
I also tend to recirculate the first few litres of wort to come from the boiler - similar to the recirculation done at sparging stage.
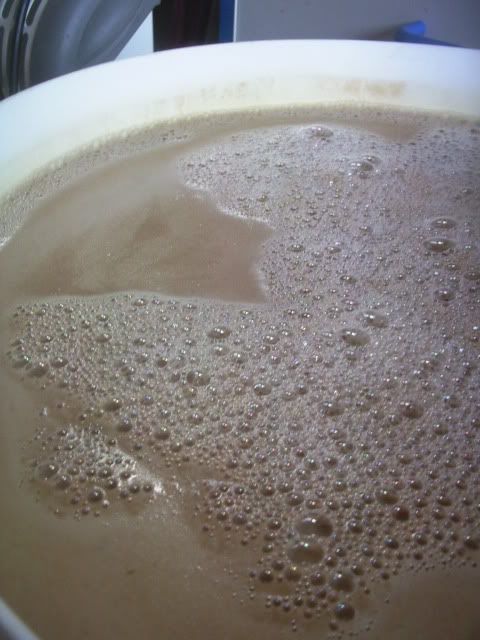
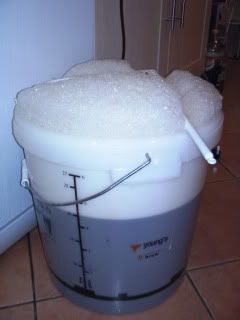
Once the wort is running clear I let if run out of the boiler at height and fall into the fermenting bin underneath. This introduces plenty of oxygen into the wort - which is key to the yeat during the initial stages where it is multiplying like crazy.
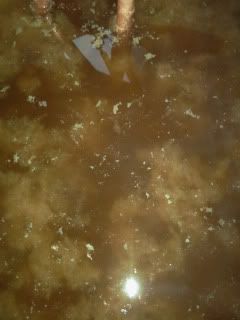
It tends to foam up a bit as a result. I'll also give it a thrashing with a beer paddle to get as much air in as possible. Do you want a flake in that? :)
Now we're ready to pitch the yeast and put it away for fermentation. I try to ferment at a consitent 20 oC. I don't have a brewing fridge like some so I make do with moving the fermentor around or using a heating belt with a timer.
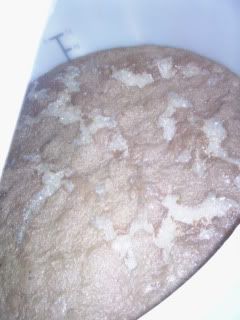
After a few hours the yeast starts to show signs of activity and evently a yeast head builds.
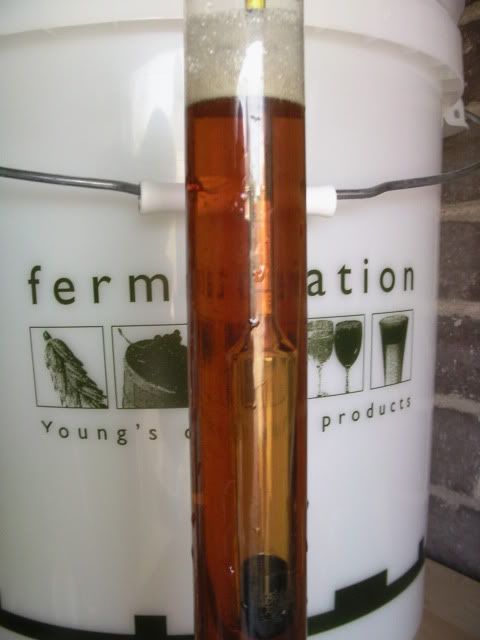
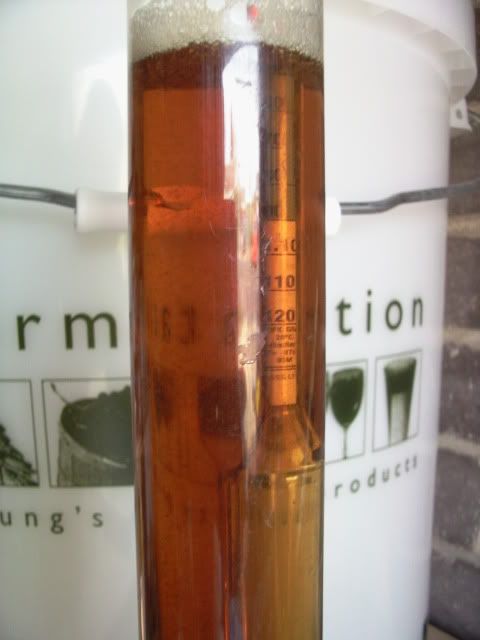
After a few days (3-5) this head dies down and the fermentation continues with less vigour. I tend to sterilise a hydromter at this point and drop it in so I can keep an eye on the specific gravity. Once down to below 1.014 and when I get 3 or more days at the same gravity then it's ready to bottle, although I leave it up to 2 weeks to allow the yeast a chance to do it's 3rd phase in the process of clearing up anything that might cause off flavours in the final beer.
Normally I keg most of the beer and bottle some. This time it's a competition brew so it's going in a mixture of bottles - 330ml glass. 500ml glass and 1ltr PET. This is a long process which I never look forward to. First they all need sterilising, then rinsing then priming.
Now I take a sample and then start filling the bottles.
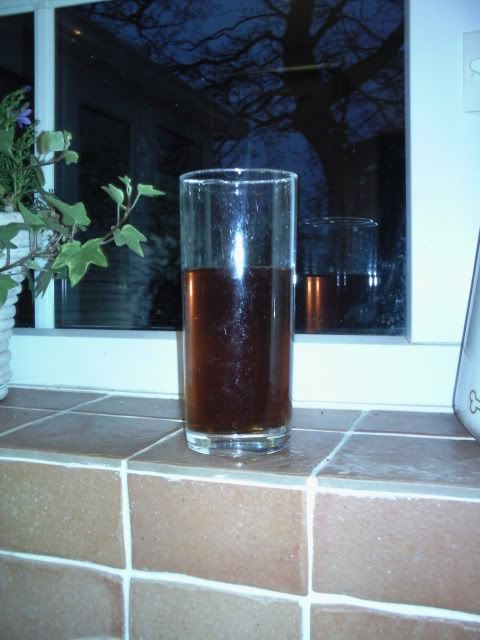
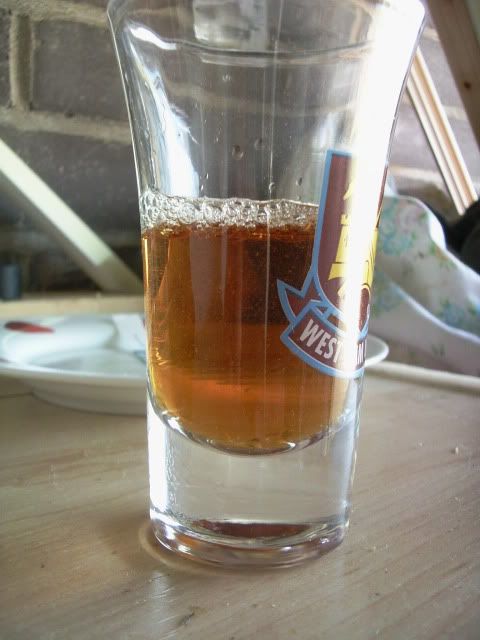
The hop falvour and aroma is excellent with this brew. It is fairly clear and a reddish colour. Not as bitter as I thought - at least not a harsh astringent type of bitterness - which is good and what I was hoping for. It can only improve from now on and there is plenty of conditioning time before I need to send these off.
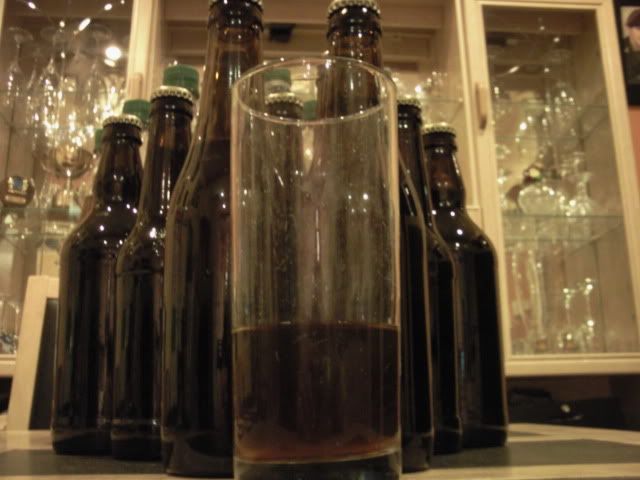
So it's wait a few weeks now and then have a sample to see how it's progressing. First samples suggest that this could be good but we'll have to wait and see!
Friday, 30 April 2010
Thursday, 29 April 2010
Black Sheep Interview
I stumbled across this podcast by the Brewing Network today. It takes a while to get going but at about 15mins 40 secs into it there's an interview with the head brewer from the Black Sheep Brewery.
There's some history of the brewery and a description of the Riggwelter Ale before they get into a discussion around brewing technique including mash and hop schedules and the grain bill.
This is what I managed to gleam from the interview:
OG = 1.056 (ABV ~5.7-5.9%)
EBC = 60
IBU=35
Base hops in all Black Sheep beers appear to be a mix of Challenger, Progress and Fuggles, with a large (upto 70%) late hop addition of EKG hops. When they say late hops these are hops that are scalded in the hop back at the end of the boil and are mostly for aroma and flavour and not for bittering.
It was suggested that the grain bill was something like Pale Malt - Marris Otter (80%), Standard Crystal (6%), Pale Chocolate Malt (I'm sure he said 5EBC but the lowest chocolate malt I could find was still around 500EBC) (5%?), and the remainder was Torrefied Wheat. No syrups or caramel is used.
Mash temperature is 66 oC but interestingly (due to the slow speed of mash run off) it's only held there for 45 mins.
I had a play with this but couldn't quite get the numbers to add up but I came up with something that might be a close representation.
I might have to give this a try some time. When I do i'll be sure to report the results.
There's some history of the brewery and a description of the Riggwelter Ale before they get into a discussion around brewing technique including mash and hop schedules and the grain bill.
This is what I managed to gleam from the interview:
OG = 1.056 (ABV ~5.7-5.9%)
EBC = 60
IBU=35
Base hops in all Black Sheep beers appear to be a mix of Challenger, Progress and Fuggles, with a large (upto 70%) late hop addition of EKG hops. When they say late hops these are hops that are scalded in the hop back at the end of the boil and are mostly for aroma and flavour and not for bittering.
It was suggested that the grain bill was something like Pale Malt - Marris Otter (80%), Standard Crystal (6%), Pale Chocolate Malt (I'm sure he said 5EBC but the lowest chocolate malt I could find was still around 500EBC) (5%?), and the remainder was Torrefied Wheat. No syrups or caramel is used.
Mash temperature is 66 oC but interestingly (due to the slow speed of mash run off) it's only held there for 45 mins.
I had a play with this but couldn't quite get the numbers to add up but I came up with something that might be a close representation.
| |||||||||||||||||||||||||||||||||||||||||||||||||||||||||||||||||||||||||||||
It's in the right sort of region. Looking at it Graham Wheeler has a recipe for this in his book, although it's missing the big aroma hop hit at the end and includes some sugar (maybe to fill the gap that I had problems filling. | |||||||||||||||||||||||||||||||||||||||||||||||||||||||||||||||||||||||||||||
Malt / Hop Balance
(or More Water Gobbledy-Gook)
You learn something new everyday, so they say, and the more I scratch the surface of this craft of brewing the more I realise that even though it has a strong basis in science (after all none of it would work without the science), bringing all the science together to brew the perfect beer is more of an art form than you would suspect!
I've already discussed the importance of profiling the water by reducing carbonate and therefore alkalinity of the brewing liquor. After adding CRS to reduce the carbonate I was a little worried about the high levels of chlorides and sulphates remaining in my water.
Someone pointed out to me that actually the levels left in my water are quite small compared to the sulphate level in Burtonized water (which have sulphate levels at around 800ppm).
What is much more important to the flavour of the beer at the end of the process though is the ratio of Sulphates to Chlorides. A higher ratio of Sulphate will result in the hop flavour and bitterness being accentuated, whereas a higher ratio of chloride will result in the malt characteristics being more accentuated in the final product.
One of the reasons that Burton breweries were famous for quite strong and hoppy beers was the high sulphate levels in the source water compared to the chlorides, the strength of the beer being upped to increase the maltiness and body of the beer.
I probably have about 1 1/2 times the amount of sulphate to chloride in my water so it will accentuate the hoppiness a little. Initial samples of my latest brew show a very clean and crisp hop bitterness and flavour to the brew without being overly astringent.
In addition, the target mash Ph is not only defined by the water but also the profile of grain being used. Obviously darker malts will lower the Ph in the mash as they are more acidic than pale malts.
Calcium Sulphate (Gypsum) and Calcium Chloride flakes will both have the effect of lowers the Ph as well but one will increase the sulphate and the other the chloride allowing fine tuning of the flavour profile.
So to brew the perfect beer there are a large number of scientific conditions that need to come together at the same time (Alkalinity, Mash Ph, mineral content, mash temperature, hot break, cold break). As each recipe may call for tweaks to the process then, although backed up by the science, the brewer is practicing an art form that requires good knowledge of the ingredients and processes in order to bring it all together at the right time.
So brewing is a science and an art form. I continue to learn more every day, and enjoy the product of that learning even more.
Happy Days!
Friday, 23 April 2010
A Long Brew Day Part 2
What's this boiling business about then?
The boil is an important process for several reasons.
As you will see bad things can happen during the initial part of the boil if you're not a bit careful - never walk away from the boiler until the initial hot break has occurred!
So, my last post left us with a boiler full of wort that had been run off in 2 batches from the mash tun.
When the boiler is getting up to temparature a head of foam will start to build on the top of the wort. As the wort comes to a boil and the surface tension is broken the foam will start to rapidly rise. You need to be around to cope with this as you don't want it to boil over - apart from anything else liquids and electricity don't mix particularly well! Also a boil over makes a right mess of the boiler which needs cleaning off.
This is the first time I had done any water treatment and because the Ph was closer to the optimal range I was taken by surprise and had a small boil over. It is possible to attempt to control this by either switching the boiler off for a while as it comes to the boil (not my prefferred option), or spraying cold water over the top of the wort.
I usually let the wort stay at a rolling boil for a good 5 minutes so I know it's going to maintain it when I make hop additions at the scheduled times - it's important to keep a good rolling boil for atleast 60 mins to help to stabilise the dropping out of protein clumps.
Once I add the first bittering hops I reset my timer to 90 mins. This recipe also calls for hop additions at 20mins, and 10 mins from the end of the boil for flavour and again at flame out.
I also add copper finings (Protofloc, Irish Moss, or Whirlfloc) - in this case Protofloc granules - to the boil at 10 mins to the end of the boil. Protofloc is a concentrated version of Irish Moss, which is a type of seaweed dried and ground into granules. Copper finings are used to help the stabilisation process to ensure the removal of all (or atleast most) of the haze forming proteins from the final beer.
The immersion cooler also goes into the boiler at about the 10 min from end mark in order to sterilise it.
This is an important milestone too. Anything post boil to touch the wort MUST be sterilised!
Once the 90 mins is up, the boiler is switched off and the wort is brought down to 80oC and the post boil hops are added. These are left for 15-30 mins before turning the immersion chiller on to bring the wort down to pitching temperature as quickly as possible. Cooling the wort quickly (within 40 mins or so) is important as it provides the cold break. The cold break helps the proteins that were formed in the hot break to clump together in large clumps. It can look rather strange!
Once the wort is down to temparture, the IC is turned off and removed and the boiler is left to allow the wort to settle and the cold break material to settle out onto the hop bed.
At this point it is helpful to draw off some wort a litre or so at a time and recirulate into the top of the boiler until the wort runs clear. This is similar process to the recirculating in the mash tun but this time the wort is being filtered by the hop bed.
Once running clear a sample is taken in the trial jar to test the Specific Gravity with the hydrometer. This time the wort is the clearest I have seen it. I put this down to careful following of a good process and also the treatment of the water to get a good mash and boil, leading to the break material dropping out of suspension.
I also like to draw a small sample off for human testing - just to get an idea of the taste. It'll be very sweet and quite bitter (hopefully). It is all part of the understanding process though so I find it helpful to try a small sample at all stages of the brewing process.
Next time we'll move onto Post Boil And Fermentation.
Happy Days!
The boil is an important process for several reasons.
- It sterilises the wort ready for fermentation.
- It drives off some nasties including sulphides which can effect the end flavour - it is important to perform the boil without the lid on the boiler for this reason so that these nasties are evaporated off during the boil and don't condense back into the wort.
- It causes the hot break - which starts when the wort comes to the boil and foams up and continues for up to 60 mins of a rolling boil. The hot break is the process of proteins being broken out of the solution and clumping together until they fall to the bottom of the pot.
- A continued boil of 60 mins or more is required to stabilise the wort.
- Finally the boil is used to extract the flavour and aroma from the hops. Hops provide bitterness, flavour and aroma depending on the hop schedule. More bitterness is added to the wort, the longer the hops are boiled. More flavour and aroma are added when the hops are added late on in the boil.
As you will see bad things can happen during the initial part of the boil if you're not a bit careful - never walk away from the boiler until the initial hot break has occurred!
So, my last post left us with a boiler full of wort that had been run off in 2 batches from the mash tun.
When the boiler is getting up to temparature a head of foam will start to build on the top of the wort. As the wort comes to a boil and the surface tension is broken the foam will start to rapidly rise. You need to be around to cope with this as you don't want it to boil over - apart from anything else liquids and electricity don't mix particularly well! Also a boil over makes a right mess of the boiler which needs cleaning off.
This is the first time I had done any water treatment and because the Ph was closer to the optimal range I was taken by surprise and had a small boil over. It is possible to attempt to control this by either switching the boiler off for a while as it comes to the boil (not my prefferred option), or spraying cold water over the top of the wort.
I usually let the wort stay at a rolling boil for a good 5 minutes so I know it's going to maintain it when I make hop additions at the scheduled times - it's important to keep a good rolling boil for atleast 60 mins to help to stabilise the dropping out of protein clumps.
Once I add the first bittering hops I reset my timer to 90 mins. This recipe also calls for hop additions at 20mins, and 10 mins from the end of the boil for flavour and again at flame out.
I also add copper finings (Protofloc, Irish Moss, or Whirlfloc) - in this case Protofloc granules - to the boil at 10 mins to the end of the boil. Protofloc is a concentrated version of Irish Moss, which is a type of seaweed dried and ground into granules. Copper finings are used to help the stabilisation process to ensure the removal of all (or atleast most) of the haze forming proteins from the final beer.
The immersion cooler also goes into the boiler at about the 10 min from end mark in order to sterilise it.
This is an important milestone too. Anything post boil to touch the wort MUST be sterilised!
Once the 90 mins is up, the boiler is switched off and the wort is brought down to 80oC and the post boil hops are added. These are left for 15-30 mins before turning the immersion chiller on to bring the wort down to pitching temperature as quickly as possible. Cooling the wort quickly (within 40 mins or so) is important as it provides the cold break. The cold break helps the proteins that were formed in the hot break to clump together in large clumps. It can look rather strange!
Once the wort is down to temparture, the IC is turned off and removed and the boiler is left to allow the wort to settle and the cold break material to settle out onto the hop bed.
At this point it is helpful to draw off some wort a litre or so at a time and recirulate into the top of the boiler until the wort runs clear. This is similar process to the recirculating in the mash tun but this time the wort is being filtered by the hop bed.
Once running clear a sample is taken in the trial jar to test the Specific Gravity with the hydrometer. This time the wort is the clearest I have seen it. I put this down to careful following of a good process and also the treatment of the water to get a good mash and boil, leading to the break material dropping out of suspension.
I also like to draw a small sample off for human testing - just to get an idea of the taste. It'll be very sweet and quite bitter (hopefully). It is all part of the understanding process though so I find it helpful to try a small sample at all stages of the brewing process.
Next time we'll move onto Post Boil And Fermentation.
Happy Days!
Wednesday, 21 April 2010
A Long Brew Day Part 1
I decided to enter this brewing competition and didn't really think about the logistics of it until this weekend. Although I had a house recipe to try out, it had already been through two iterations and was far from perfect.
Really I needed to develop the recipe further and also trial the bottling process to get the levels of carbonation right. My initial plan was to speed up development alot by doing a single mash and then making several different trial recipes in one go.
However, it occurred to me that the closing date for the competition was June and although they give the beer a week of settling time after that date I needed to allow for brewing time and a decent amount of conditioning if I stand any chance of getting anywhere in the competition.
I had already come up with the 3rd iteration of the recipe so thought I might as well just bite the bullet and get brewing.
So, this last weekend I was not only brewing a brand new version of the recipe, but I was also adding the complications of water treatment to the process - no pressure then :)
So here in it's entirity is my brew day - which went surprisingly well as it goes!
I'd spent part of the weekend clearing out the garage and rearranging things to make it easier to brew and so I can store all my brewing equipment in there rather than in the house.
I treat all my brewing liquor in the top 33ltr Fermenting bin and once it's close enough to my selected profile I drain enough for the mash into the boiler below and heat it up to about 83oC.
If you read my last blog entry you'll already know about the water treatment I am doing to try and get the perfect mash, boil and fermentation that I can.
While the mash water is getting up to temperature there's plenty of other stuff to be getting on with - not least tuning into BSB radio to listen to the race day commentry from Thruxton :)
Meanwhile it's time to measure out the ingredients required for the brew!
The Grain!
A mix of Marris Otter Pale Malt, Torrefied wheat, Crystal malt and Chocolate malt. The white stuff in the middle is Gypsum but I don't think I need to continue to add this in my mash.
And the Hops! There's quite alot of them. I like hoppy beers and I read a good article on Mr Malty about how increasing the late hops will create a beer packed with flavour and a bitterness that is more flavoursome and less over powering.
So the water in the boiler has hit 83oC! I turn the boiler off and drain off the liquor into the mash tun. My mash tun (MT) is a converted 30ltr coolbox with a tap fitted and a copper manifold with slits cut in it to allow the wort to drain away from the grain bed.
Once the mash water has been drained off into the mashtun it should have lost a bit of temperature and be at the right level to dough in the grain. I just tip it all in, stirring with a spoon while I do it to ensure that there are no dry pockets or grain balls being left. The result is a consistency similar to a loose porridge.
When I'm sure it's all mixed in properly I take a temperature reading and if neccesssary adjust it using hot and cold water. This time I'm spot on for my target of 66oC.
Now the temperature is spot on I take a small sample of the liquor in the mash for testing the mash Ph, replace the MT lid and cover with some blankets to insulate further.
The mash Ph target is around the 5.2 mark. I think I'm in the region of 4.9 (not helped by the gypsum I added when I probably don't need it). That's not too shabby though and certainly alot closer to the mark than without any treatment!
Now there's some waiting for the mash chemistry and general brewing magic to take place within the mash tun. The mash is for 90 mins so I can get on with other stuff once I've topped up the boiler with sparge water and switched it on again.
When 90 minutes is up I then top up the mastun with sparge water, I'm batch sparging in 2 batches. I give it all a good stir again, put the lid back on and leave it for 10 minutes or so to settle. I then vorlauf the mash tun which involves draining off the first runnings into a jug and gently recirculating into the top of the mash tun to filter through the grain bed.
Once the wort is running clear I drain off the wort into a spare bin with a tap.
After the first batch is run off I top up and repeat the sparging process over again to get the second batch of wort, resulting in the collection of 26ltrs of sweet wort ready to add to the boil.
So that's half the brew day done and everything is looking good. In my next installment I'll cover the process of boiling the wort with hops and preparing for fermentation.
Happy Days!
Monday, 19 April 2010
Water's Water! Isn't It?
Well yes........ and er...no.
On the face of it water is just water but it is also the biggest ingredient (by volume) that goes into making beer and the chemical break down of water varies widely from one area of the country to another.
So what type of water is required to make a good beer? Acceptable beer can be made from nearly any water but to get the best out of the brewing and fermentation processes it's best to have a balance of acid and alkalinity.
Two other important elements for the brewing process are Calcium and Magnesium. Calcium provides a balance to the alkalinity of phosphates found in the malts and Magnesium helps to provide a perfect environment for the yeasties to do their work during fermentation.
The enzyme activity that takes place during the mash works best when the PH during the mash is 5.2 (or there abouts). But how do we change the mash PH? It's not something that can be easily achieved once the grain is in the mashtun so we need to get to a good starting point before hand and then use trial and error over a number of brews to get it right in the mashtun.
In the past brewers would have brewed beers that suited their source water properties. If the water was highly alkaline then they would have brewed darker ales and porters - the higher acid content on roasted and darker malts would help to balance the alkalinity.
Now days it's possible to change the water profile to match the type of beer being brewed.
With this in mind my journey into a weird world of water chemistry is starting (and I used to hate chemistry at school!). I've read the local water boards quality reports to get values for chlorine / chloramines, Total Alkalinity, Calcium, Magnesium and sodium. This is a good starting point but the readings are average over the year and do change.
Alkalinity has the biggest impact on brewing and I already know that my water is high alkaline, so I invested in a testing kit (from an aquarium shop) and some AMS (Strong acid used as a buffer to reduce alkalinity).
I could have just boiled the water and then decanted off the carbonate residue that drops out but it's time and energy consuming and would require me to add quite large quantities of calcium and other brewing salts afterwards.
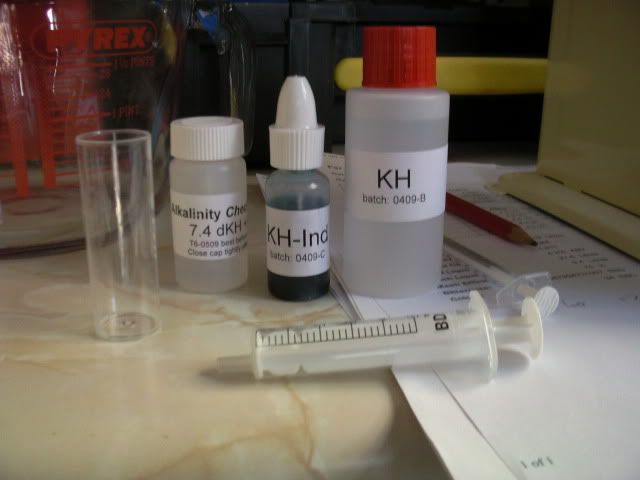
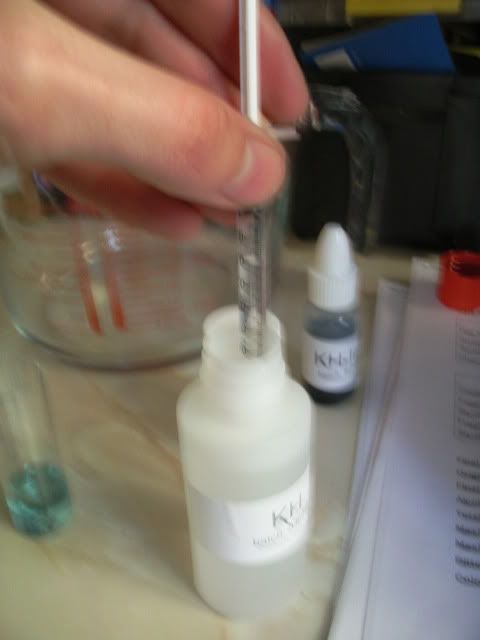
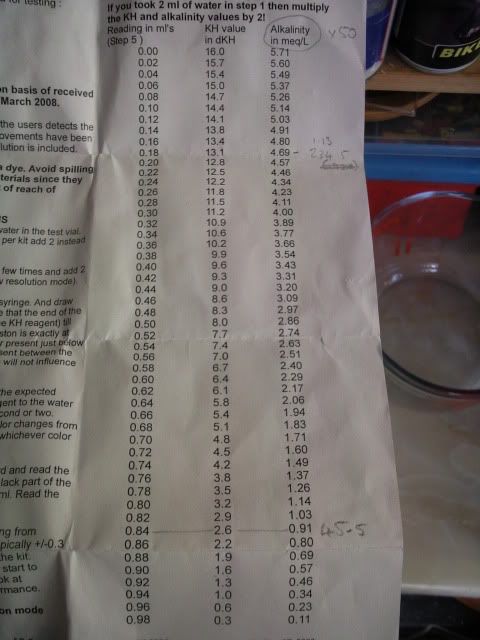
The Salifert test kit comes with a number of bottles of liquids, buffers and indicators, as well as a test vial, a couple of syringes, and a table to convert the results of the test into a figure for alkalinity.
The kit also comes with a control sample of water so that the process can be checked using liquid with a known value for alkalinity.
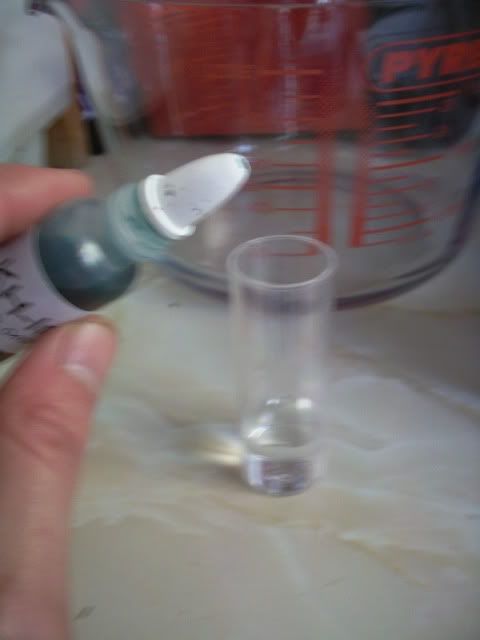
The first step in the test is to add 4ml of the water to the test vial and then add two drops of the blue indicator fluid to the vial.
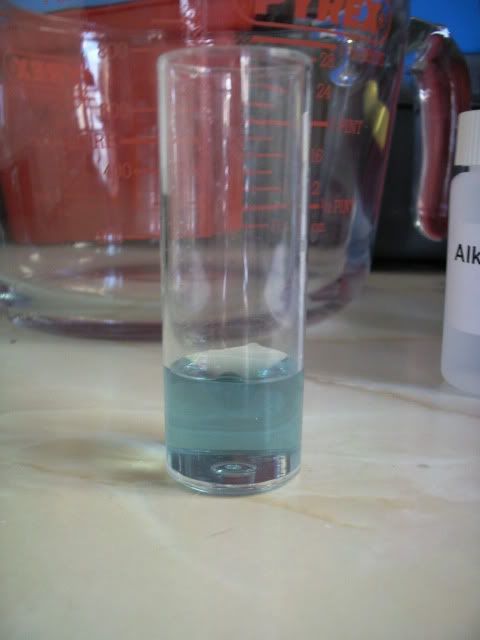
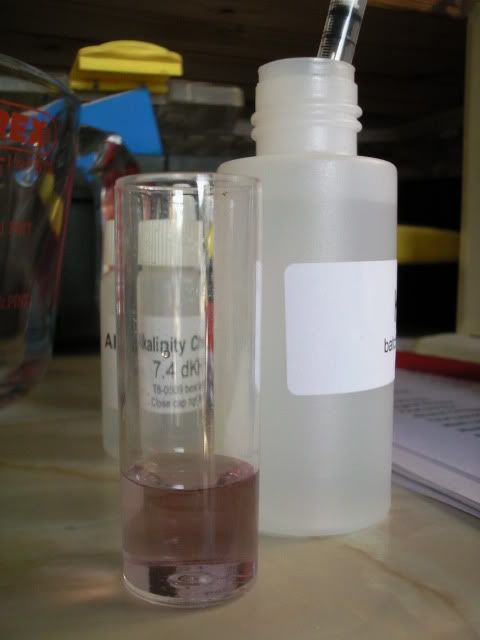
Then using the smaller syringe, draw up 1ml of the KH buffer solution and slowly, drop by drop, add it to the vial. After each drop shake the sample a little. You are looking for the colour of the sample to show tinges of pink when gently shaken and will look a light grey / clear colour when held still. At that point take the reading of how much solution is still remaining in the syringe.
Two drops after the changeover point the whole sample will go a light pink colour.
Make a note of the reading and then look it up on the alkalinity test chart provided.
The Alkalinity value from the chart is multiplied by 50 to get the value we need in ppm CaCO3. In this case my source water is 234.5.
To brew different beers I need to change the levels of this value. Lager would be about 20, Bitter upto 50, Dark Ales and Porters would be over 100.
So in this instance I want to get down to about 40ppm Alkalinity. To do this I need to add the right amount of acid to buffer the alkalinity. To do this I can take my alkalinity value away from the target to show how much I need to remove and then divide by 180 (which is the amount that 1ml AMS will remove from 1 ltr of water) and then multiply by the total amount of brewing liquor.
In this case I need 31 ltrs of liquor so the sum to do is 31 x ((234.5 - 40) / 180) = 33ml of AMS.
Doing this worked fairly well and after testing again I seem my water now has an Alkalinity of 45ppm.
The only problem with this method is that some properties (such as Sulphates and Chlorides) are actually increased but they are still within tolerances that are ok for brewing with.
The rest of my water appears to be good for brewing. There is plenty of calcium and magnesium in there so no need for further additions. The only addition in fact is 1/2 crushed campden tablet to remove traces of chlorine and chloromines from the water supply - which can turn good beer to bad.
My mash PH is slightly low for my first attempt but much closer at 4.9 than it has been in the past. Getting the water profile and mash PH right can increase mash efficiency, reduce tannin extraction and improve hop flavour in the final beer. It's too early to tell for this first time but I was impressed by the overall quality and clearness of the wort being run off from both the mash tun and boiler. I've never had it so clear!
Happy Days! ;)
Now then Mate!
A traditional Lincolnshire welcome to my new blog!
I hope to use this blog to share my experiences of my journey into home brewing and hope it will prove useful to others.
I started brewing again last year after a break away from it for over 15 yrs. Back then the kits were nothing special and I think I probably had less patience than I do now days.
The home brew kits have certainly moved on alot since my last attempt at making drinkable ale and the results and encouraged me to brew more.
One additional improvement to the home brew scene has been the access to ingredients and knowledge thanks to the relentless rise of t'internet over the intervening years. It was both of these factors that encouraged me to move gradually from kits, into extract brewing and finally into full mash, all grain brewing.
So, I now brew out of my garage on a fairly Heath Robinson type setup, using water, grain, hops and yeast.
My next step over the coming months is to start entering competitions while I continue to develop and hone my brewing process and recipes. It's still early days and I'm learning all the time but it's fun learning and I'm making loads of new acquaintances all the time - the home brew community are a friendly bunch.
The race is on to enter the first competition of the year and I'll be blogging about this in the coming months.
Happy Days!
Subscribe to:
Posts (Atom)